How to Set Up Bitcall as a SIP Trunk in 3CX
How to Set Up Bitcall as a SIP Trunk in 3CX
A complete guide to connecting your 3CX Phone System to Bitcall. This configuration has been Tested & Verified using the Bitcall SIP engine. It is functionally proven for 3CX Version 18 and 20.

What You Will Need
A 3CX installation (Version 18 or 20) with administrative access.
Your Bitcall SIP credentials: username, password, and domain.
A valid Caller ID assigned to your Bitcall account.
Pre-flight Check — Port 5060 Conflict [Terminal Step]
3CX requires Port 5060 (UDP). Run this command to ensure no other service (like Asterisk or FreeSWITCH) is occupying the port:
IMPORTANT
3CX V20 / Hosted Warning: If you are using Hosted by 3CX (SMB License), the "Generic" option may be missing. 3CX restricts these instances to "Preferred" providers only. This guide is best suited for Self-Hosted or Pro/Enterprise installations.
Open your browser and navigate to your 3CX Admin Console: https://YOUR-SERVER-IP:5001 (or your 3CX FQDN).
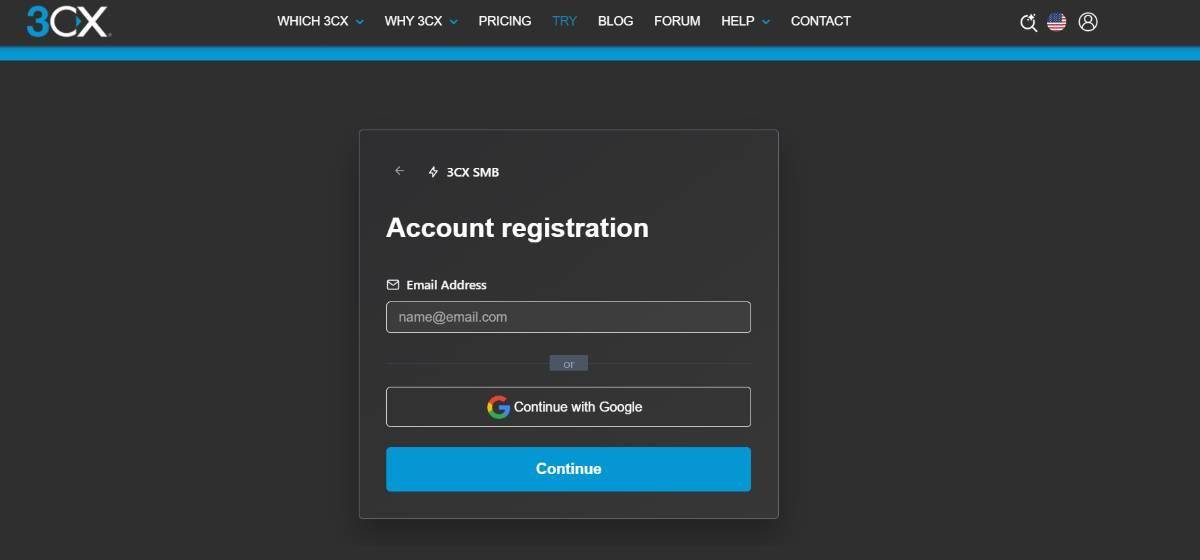
Log in to the Admin Console (Admin → Voice & Chat).
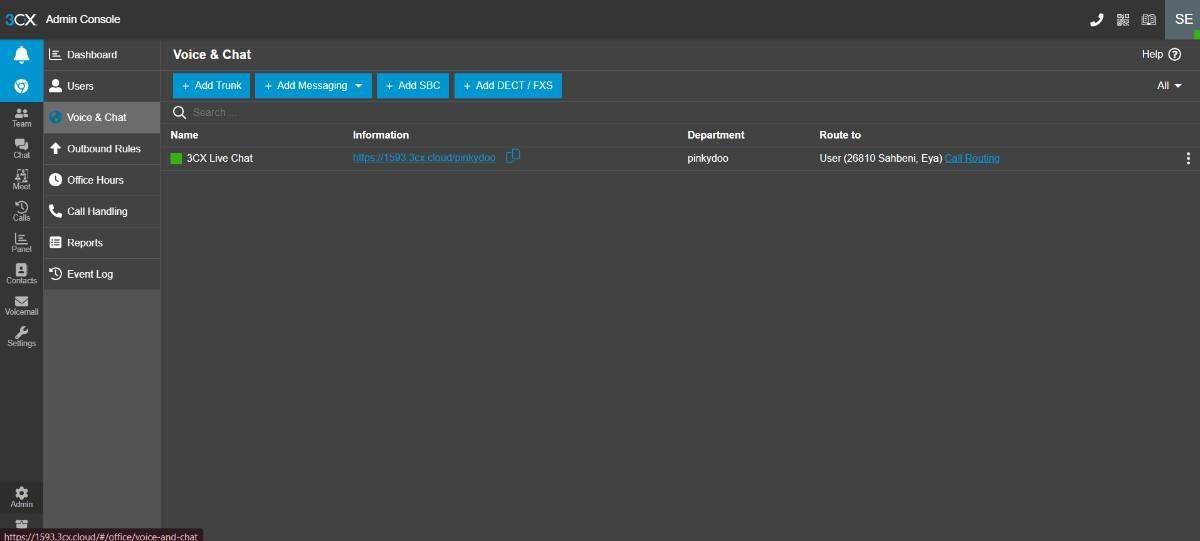
Go to SIP Trunks in the sidebar.
Click + Add SIP Trunk.
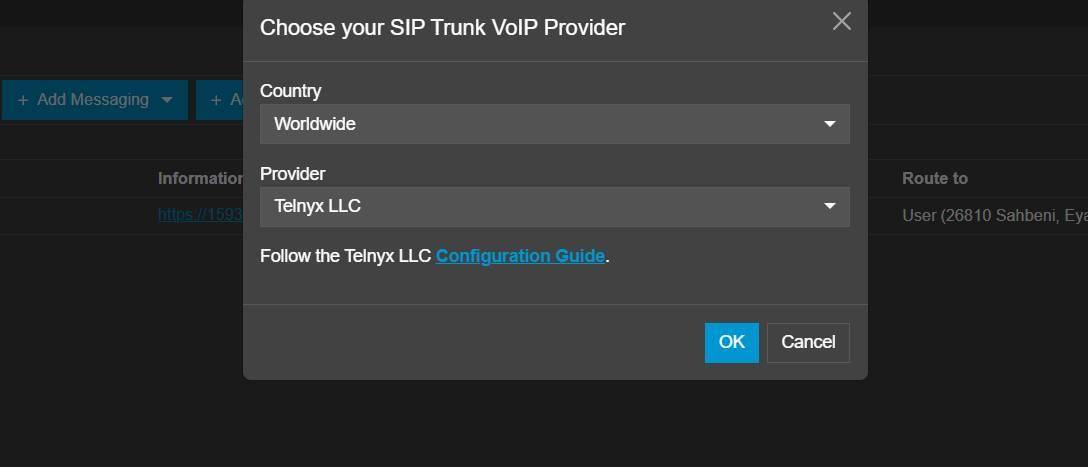
Set the following:
Select Country: Generic (Scroll to the very bottom of the list)
Select Provider: Generic SIP Trunk
Main Trunk Number: (Enter your Bitcall Number or a placeholder)
Click OK.
Step 2 — General Settings [Browser Step]
Under the General tab in the 3CX Console, fill in these details:
- Registrar/Server/Gateway: your-bitcall-domain
- Outbound Proxy: (Leave blank)
- Number of Sim. Calls: (Set according to your plan, e.g., 10)
- Type of Authentication: Register/Account based
- Authentication ID (Username): your-username
- Authentication Password: your-password
⚠️ Replace your-bitcall-domain, your-username, and your-password with your real Bitcall credentials.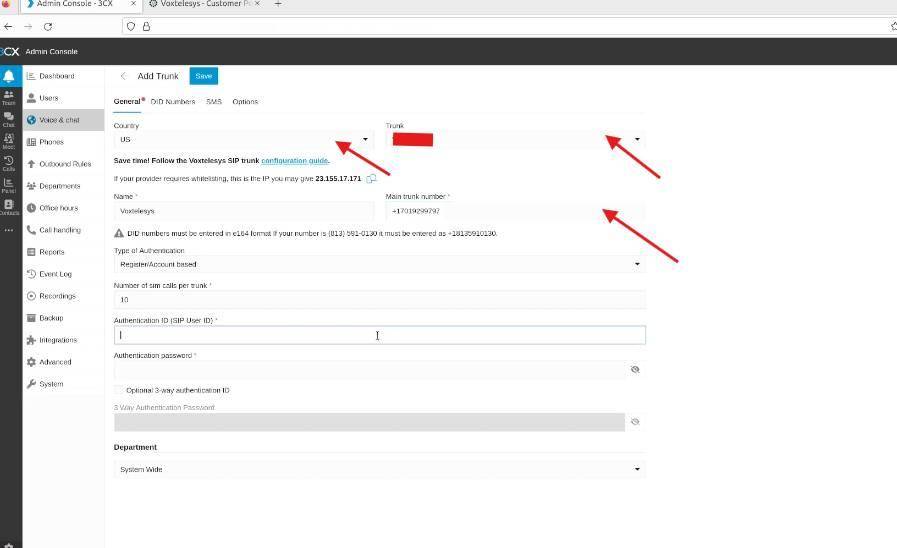
Step 3 — Caller ID Settings [Browser Step]
Go to the Options tab in the 3CX Console.
In the Default Outbound Caller ID box, enter your Bitcall international format number (e.g., +33612345678).
Click OK at the top to save your settings.

Step 4 — DID Numbers (Optional) [Browser Step]
If you have multiple numbers, you can manage them here:
Go to the DID Numbers tab.
Click + Add to enter individual numbers or Import to upload a list from Bitcall.
Step 5 — Create an Outbound Rule [Browser Step]
You must tell 3CX when to use the Bitcall trunk.
Go to Outbound Rules → + Add.
Name the rule: Bitcall Outbound.
Set the Route 1 to your new Bitcall SIP Trunk.
(Optional) Set a prefix like 0 if you want callers to dial 0 before the number.
Click OK.
Step 6 — Verify the Connection [Browser Step]
To be 100% sure your trunk is active:
Check the SIP Trunks list in 3CX.
Verified: If the light next to the Bitcall trunk is Green (●), you are successfully registered! ✅
If the light is Red, check the Activity Log in 3CX to see the exact SIP response (e.g., 403 Forbidden means wrong password).
IMPORTANT
Switching / Conflicts: 3CX uses Port 5060. If you have Asterisk or FreeSWITCH on the same server, you must stop them using systemctl stop asterisk or systemctl stop freeswitch before 3CX can connect.
Make Your First Test Call [App Step]
Once the trunk is Green, test the full Bitcall path:
Open your 3CX Web Client or 3CX App on your phone.
Dial your mobile number in international format (e.g., +33612345678).
If you set an outbound rule prefix (like 0), make sure to dial 0+number.
What to check:
Ensure the call connects instantly.
Verify that the Caller ID you configured in Step 3 appears on your mobile screen.
If the call fails, go to Dashboard → Activity Log to see why the Bitcall server rejected the call.
Expected Result
The 3CX Management Console shows a green status for the Bitcall trunk. You can now make and receive calls using your 3CX apps and desk phones.
Troubleshooting
Red light (Unregistered): Check your username/password and ensure your firewall is not blocking Port 5060 (UDP).
Call Fails (Forbidden): Confirm that the Authentication ID matches your Bitcall username exactly.
"Generic" option missing: You are likely on a 3CX Hosted SMB license. Switch to a Self-Hosted or Pro/Enterprise installation.
One-way audio: Enable STUN in 3CX network settings or check that SIP ALG is disabled on your router.
How to Connect Asterisk to Bitcall The Complete SIP Authentication Guide for 2026
No next post
On This Page
What You Will Need
Pre-flight Check — Port 5060 Conflict [Terminal Step]
IMPORTANT
Step 2 — General Settings [Browser Step]
Step 3 — Caller ID Settings [Browser Step]
Step 4 — DID Numbers (Optional) [Browser Step]
Step 5 — Create an Outbound Rule [Browser Step]
Step 6 — Verify the Connection [Browser Step]
IMPORTANT
Make Your First Test Call [App Step]
Expected Result
Troubleshooting